Friday, April 5, 2013

Stuffed Hamburger & Cheese Rolls

Every year, my mother-in-law and her sisters and sisters-in-law host a two day crafting/sewing/cooking event for all of their daughters and daughters-in-law.  They've been hosting these for the last 10 years and they are always so fun to get together with family, visit, eat, craft, and sew.

My mother-in-law's family, whom I'm so privileged to call my own, is made up of some very incredible women with so many talents.  I look up to each one of them and have learned so much from them.

Last year, many, many, many hours were put into making a family cookbook.  I have been having so much fun going through the recipes and trying so many new things for my little family.  We've definitely found many gems in that cookbook, which is not surprising to me at all, coming from such amazing women and mothers.

The recipe I'm sharing today comes from my husband's cousin's wife, Candria.  She's such a wonderful mother and a really great friend.  A note she added to this recipe says,"Kid and husband approved!"

Well, we had the same approval rate at our house.  In fact, my kids went CRAZY over these rolls.  This recipe makes about 2 dozen little sandwiches and it's a good thing too.  The kids were requesting these for lunch and dinner until they were gone.

And a major bonus is that they're EASY!  The only thing that took much time and effort was hollowing out the rolls and that's not a big deal at all.


Oh, and one more thing...I found a big bag of two dozen potato rolls on clearance in the bakery at our grocery store, so they were super cheap.  And it was no problem that they were a little stale and dry.  Adding the filling made them perfect!

So, thank you, Candria, for sharing this family-loved recipe!

Here's what you'll need:

2 lbs. ground beef
2 Tbsp. dried, chopped onion
2 cans cream of mushroom soup (I used 1 can cream of mushroom and 1 can cream of chicken)
1 1/2 C. grated cheddar cheese
5-6 large rolls or bread bowls (I used 22 dinner-sized potato rolls-the perfect size for little hands to handle)

Brown the hamburger with the onion.  Add soup(s) and cheese and stir until combined.


Cut tops off of rolls and hollow them out.  Fill each with meat mixture and place tops back on.  


Wrap each in tin foul and place on a cookie sheet.  Bake at 350 degrees for 20 minutes.  


*Candria likes to use Asaigo Cheese rolls when she can find them.  I liked using the stale potato rolls.*

Wednesday, April 3, 2013

Key Lime Tarts

Here's a fresh, quick and easy dessert, perfect for Spring!  This recipe comes from the ladies at Our Best Bites.  I did adjust it slightly.  I didn't have any limes, but I did have some bottled key lime juice, so that's what I used.  

It was interesting to see that the recipe on the bottle of juice was almost identical to the one from Our Best Bites.  The only difference was that the recipe on the bottle called for less egg yolks.  So I put them to the test.  I made one batch using the recipe from Our Best Bites and another batch using the recipe on the key lime juice bottle.


Guess what we found...there was hardly any difference at all.  So if you don't have 5 egg yolks to work with, have no fear, 3 egg yolks work just as well!

Here's what you'll need:

14 oz. can sweetened condensed milk
3-5 egg yolks
1/3-1/2 C. Key lime juice (or regular lime juice)
12 mini graham cracker pie crusts (found by the graham cracker pie crusts on the baking isle)

Place mini graham cracker crusts on a large baking sheet.  Combine the sweetened condensed milk, egg yolks, and lime juice in a medium sized bowl.  Blend until smooth.  Pour into pie crusts. 


Bake at 350 degrees for 10-11 minutes.  Remove from the oven and let cool for 10 minutes.  Then refrigerate until ready to use.  Serve chilled with sweetened whipped cream.


*You can make this as a full-sized pie.  Just use a prepared 9-inch graham cracker crust and bake for 15-16 minutes.*

To make sweetened whipped cream (also from Our Best Bites):

1 C. whipping cream
1/3 C. powdered sugar
1 tsp. vanilla extract

Place all of the ingredients into a chilled metal bowl.  Beat on High with an electric mixer until soft peaks form (has the desired stiffness you'd like).  Serve immediately.

Monday, April 1, 2013

BBQ Chicken Drumsticks

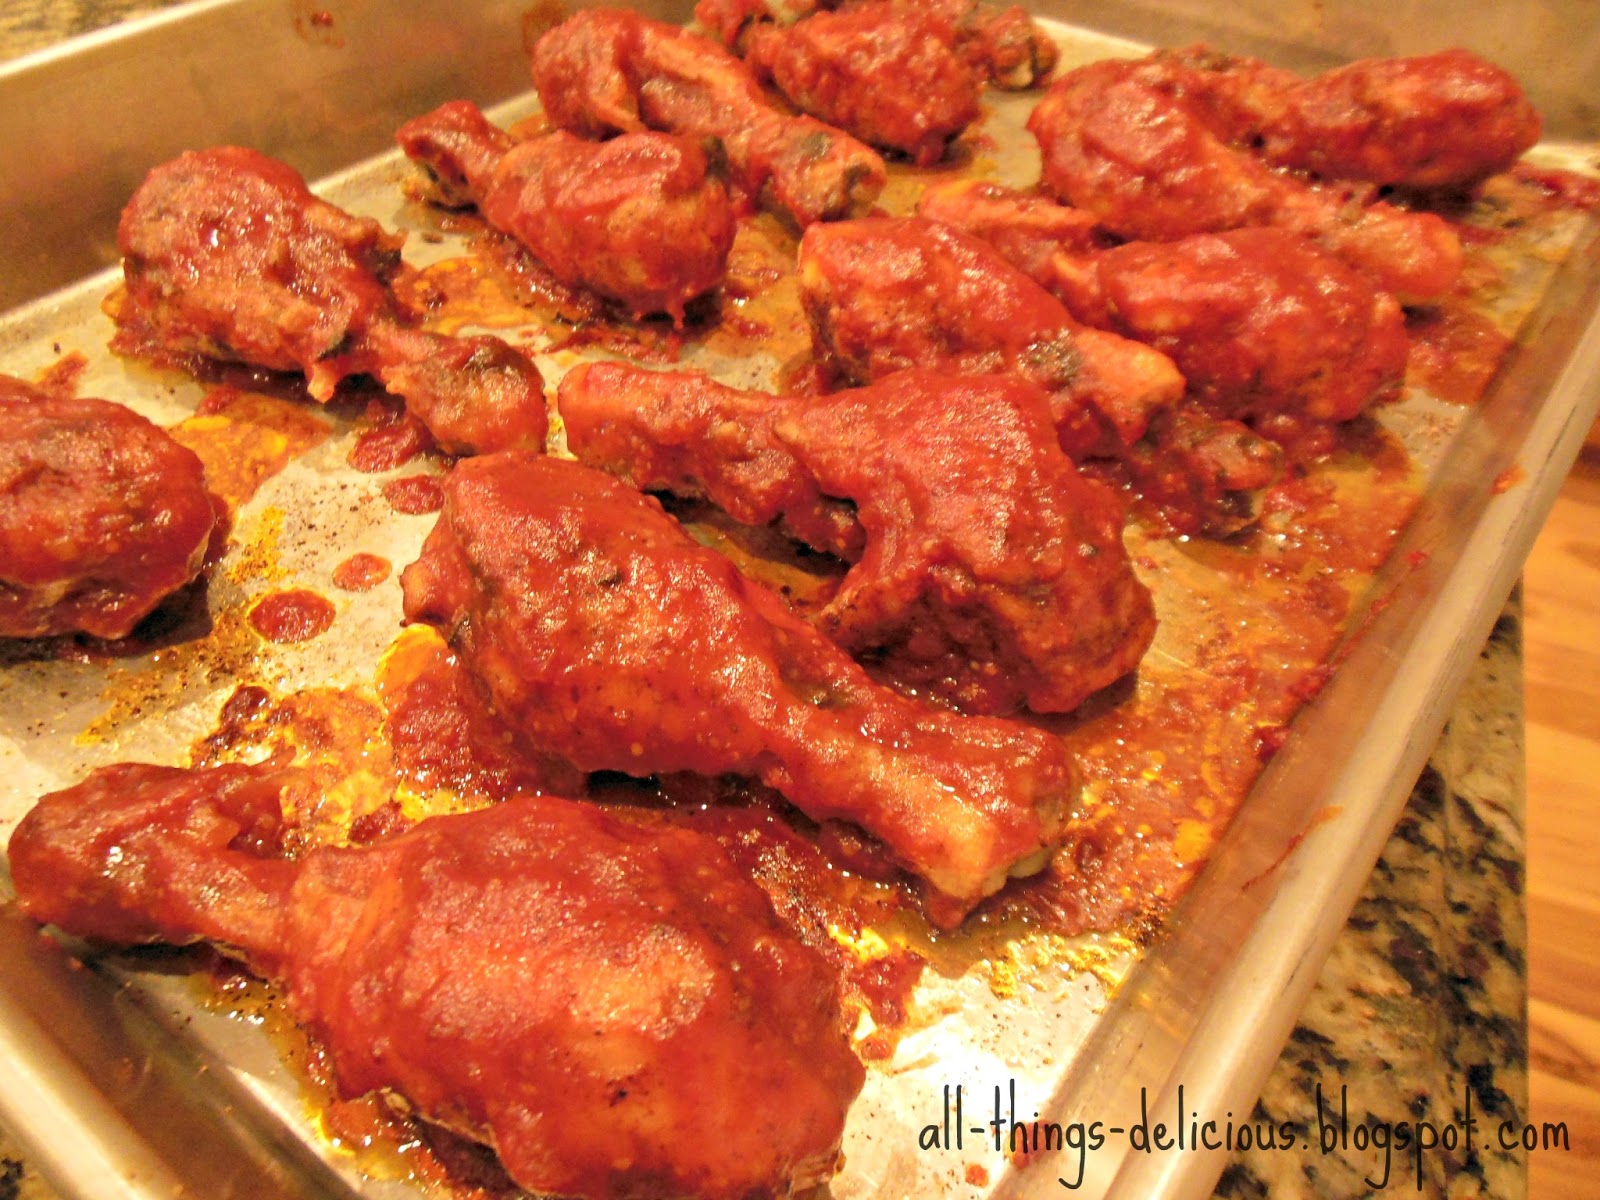
Whenever I come across a recipe for chicken that's baked in the oven, I'm very hesitant to try it.  I guess I equate baked chicken with dry, chewy chicken.  Not something I enjoy eating.  But when I found this recipe for BBQ Chicken Drumsticks from Everyday Cooking Magazine, I thought I'd give it a whirl since I had drumsticks sitting in my freezer. (I have adapted the recipe.)


I was pleasantly surprised to find that this chicken is so good!!  The meat is so flavorful, the sauce is so delicious, and there was nothing dry or chewy about this oven-baked chicken.  Everyone that tried these absolutely loved them!  This is now my favorite way to use chicken drumsticks.  Yum, yum, yum!

Here's what you'll need:

14-16 chicken drumsticks
1 Tbsp. chili powder
1 tsp. salt
1/2 tsp. pepper
1/4 tsp. onion powder
1/4 tsp. garlic powder
1 (12 oz.) bottle tomato-based chili sauce (near the ketchup at the grocery store)
1/4 C. white vinegar
1/4 C. packed light brown sugar
2 Tbsp. spicy brown mustard (I used Stone Ground Dijon)

Preheat oven to 450 degrees.  Arrange drumsticks in a large rimmed pan.


In a small bowl, combine the chili powder, salt, pepper, onion powder, and garlic powder. 


Rub all over each drumstick.  


Bake until tender, 35-40 minutes.

Meanwhile, make the barbecue sauce.  In a small saucepan, whist together the chili sauce, vinegar, sugar, and mustard.  


Bring to a boil; reduce the heat to medium-low and simmer for 2 minutes.


Remove the drumsticks from the oven and brush with the barbecue sauce.  


Return to the oven; bake for 10 more minutes, turning and basting halfway through until well browned.


And that's it!  This is seriously the best oven-baked chicken I've ever had.  So delish!!

Friday, March 29, 2013

Resurrection Rolls

The kids and I did a fun (and yummy) little project for Easter, helping them understand what we believe about Easter.  The kids loved making these rolls and they are so simple that they could do almost everything themselves.


Here's what you'll need:

Large marshmallows
Grands! biscuits, any variety
3-4 Tbsp. melted butter or margarine
Cinnamon sugar


This is the cinnamon sugar that I used.  It's from Alison's Pantry and it was WAY good!  I loved the added flavor of the vanilla.  I can't wait to try it in more of my cooking and baking!

If you don't have this kind of cinnamon sugar, you can just make your own by mixing 1/2 cup granulated sugar with 1 teaspoon cinnamon.


(Luke chapters 23 & 24)
The biscuit will represent the tomb.
Flatten out a biscuit.


After Jesus died on the cross, he was taken to a tomb and his disciples covered his body (the marshmallow) with special oils (the butter) and spices (the cinnamon sugar).
Place a marshmallow into the melted butter, then cover with the cinnamon sugar.


Then they laid his body in the tomb and enclosed him in it.
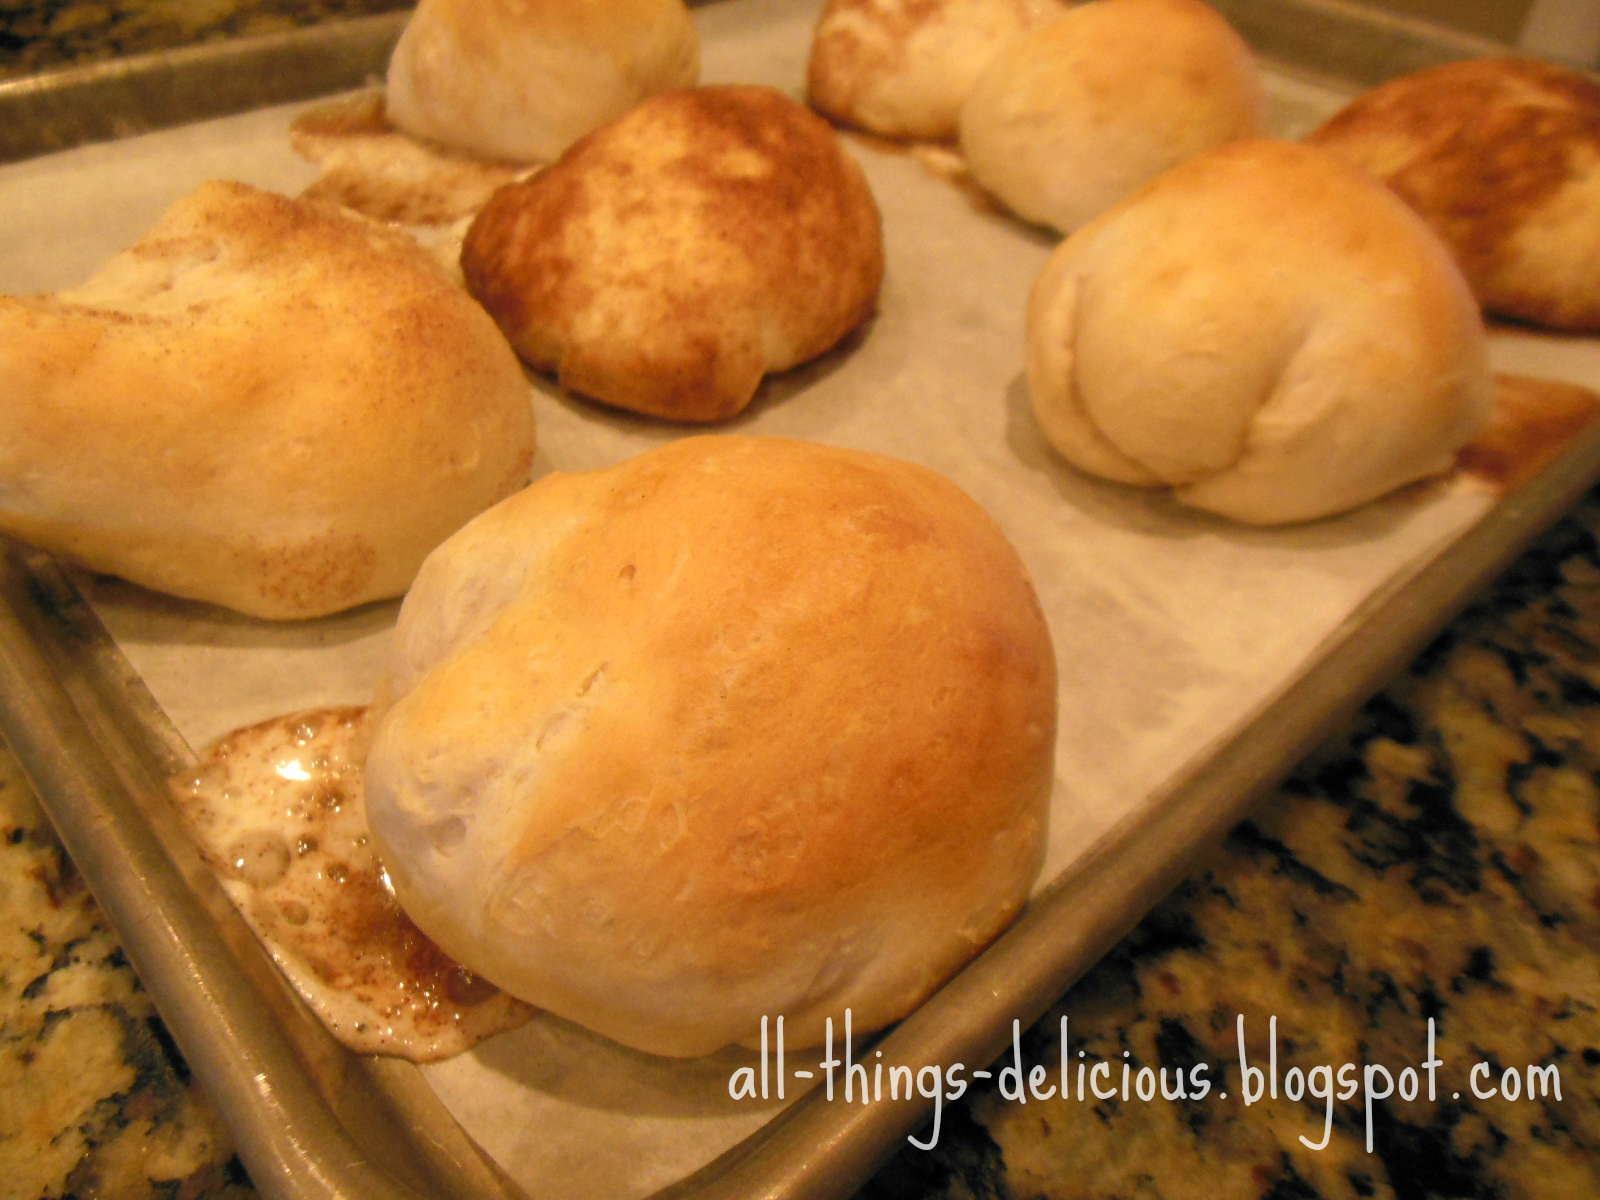
Put the covered marshmallow on the flattened biscuit and completely cover the marshmallow with the biscuit, sealing off any holes.


Place on a baking sheet.
*Some of my kids wanted to dip their rolls into the butter and cinnamon sugar too.  That made for even tastier rolls!*


Bake at 350 degrees for about 14 minutes, or until golden brown.


Place on a cooling rack to cool enough to be handled.


After 3 days, Jesus' disciples discovered that the tomb was empty and that Jesus had been resurrected. 
When they've cooled enough, break open the rolls to see their empty, hollow interiors.


Happy Easter, everyone!

Wednesday, March 27, 2013

Crunchy Krispie Treats

I love to use today's recipe for seasonal occasions.  I've made them for Valentine's Day, Easter, Halloween, and Christmas.  You can made these glorified rice krispie treats fun for anytime using the special holiday themed M&M's.  Or just use the regular colored M&M's to make them any other time of the year.


These treats are so easy to make, but are extra special with Frosted Flakes (or Corn Flakes), peanuts, and M&M's.

Here's what you'll need:

1 1/2 cubes (3/4 C.) margarine
1 (16 oz.) package of mini marshmallows
6 C. Rice Krispies
4 C. Frosted Flakes (or Corn Flakes)
1 (12 oz.) bottle roasted peanuts (1 1/2 C.)
1 (8 oz.) package M&M's

Melt the margarine in a large pot over Medium-Low heat.  Add the marshmallows and keep stirring until smooth and melted.


Remove from the heat and add the Rice Krispies, Frosted Flakes, and peanuts, stirring until evenly coated.  


Lightly grease a large rimmed cookie sheet or jelly roll pan.  Gently fold in the M&M's.  


Spread onto the cookie sheet.  Lightly grease your hands and press the treats evenly throughout the pan.  


Allow to cool.  Cover to keep moist.

Monday, March 25, 2013

Breakfast Strudel

Easter's coming and my kids and I are starting to get excited!  We have lots of company coming and I can't wait to get started on all of the good food we'll be serving.

Today's recipe is a perfect brunch dish for Easter morning.  I made these for our Christmas morning breakfast and quickly fell in love with them.  I've adapted this recipe from Cuisine At Home.  

This strudel is easy to make and I LOVE that you can make it the night before, put it in the fridge, and bake it in the morning.  It's perfect for Christmas or Easter when you have other things to do in the morning.


I also love that you use puff pastry for the dough.  This was my first time using it and now I'm hooked!  It's so delicious, all buttery and flaky.  

And, hello!  Are these not so beautiful?!  They make a gorgeous main dish for breakfast or a brunch.  I just love, love, love these.  So easy and so good!!

Here's what you'll need:

1 (1.1 lb) box puff pastry dough (you'll find this in the frozen foods isle)
2 Tbsp. unsalted butter
1 C. frozen cubed hash brown potatoes (next time I'll try the O'Brien variety for more color)
1/2 C. diced onion OR 1 Tbsp. dried chopped onion (if you use O'Brien hash browns, you can omit these)
1 C. diced ham
11 eggs
2 Tbsp. minced fresh chives, optional
4 oz. cream cheese, softened
2 Tbsp. orange juice

1 egg
1 Tbsp. water
2 Tbsp. Parmesan cheese, shredded

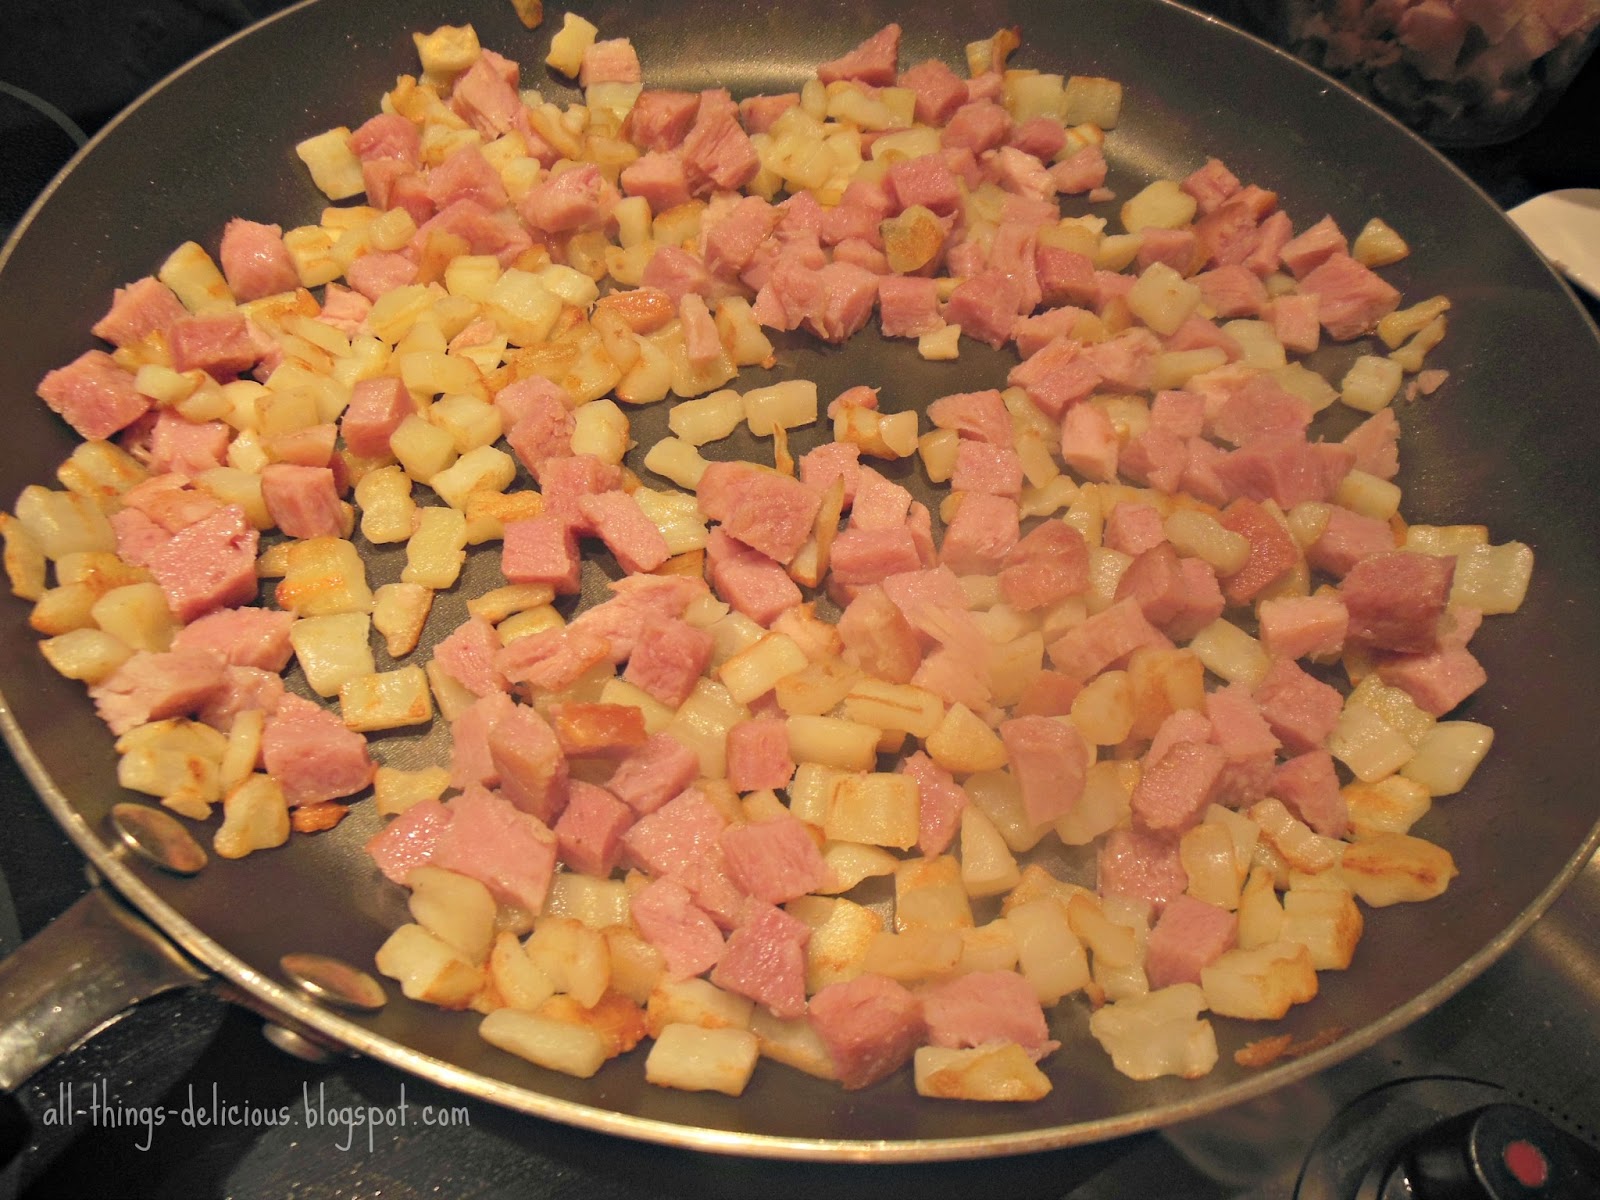
Thaw pastry according to package directions, about 30 minutes.  While it's thawing, melt the butter in a large nonstick skillet over medium-high heat.  Add potatoes and saute for 5 minutes.  Add the ham.


Whisk the eggs and chives (if using) together.  Add them to the pan and scramble just until set.  (They should still be a bit soft and wet since they'll continue to cook in the oven.)  Season with salt and pepper to taste.  Take off the heat and add the cream cheese and orange juice until blended.


Refrigerate the eggs while working with the pastry.

Unfold the pastry sheet on parchment paper that's been lightly dusted with flour.  Trim the pastry as shown.  


Fill with half of the egg mixture.  Fold up the flaps at each end and braid as shown.  Repeat with the remaining pastry and egg filling.  


Lift the strudels and parchment onto a baking sheet.


Combine the remaining egg and water.  


Brush over the top of the strudels.  Sprinkle with Parmesan cheese.


At this point, you can either cover the strudels and keep them in the fridge overnight or you can go right ahead and bake them.

Preheat the oven to 400 degrees.  Bake for 20-30 minutes, or until golden.  Let cool 5 minutes before slicing.


When ready to serve, cut the strudels at an angle.


These are so wonderful!  Hopefully these will help make your Easter brunch a beautiful breeze.
Related Posts Plugin for WordPress, Blogger...